
Jeep 2
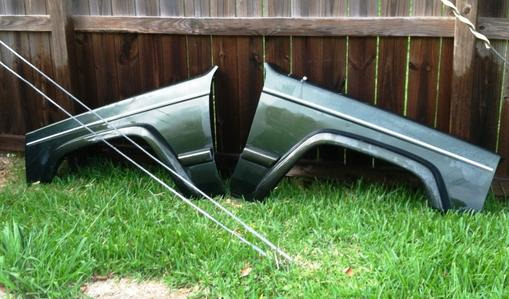
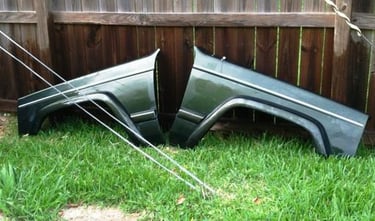
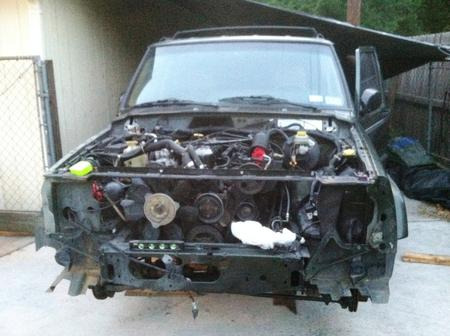
I went to Pick-A-Part and found a Kermit clone!
This was really an answer to prayer!!


I now have all of the body parts I need to get Kermit back on the road. Since the color and pinstripes match, I will not need to do any painting to finish Kermit.


I was able to also get lots of other things I need such as an Aluminum Radiator, A/C Condenser, Clock Spring (Steering Airbag connection) and many other small things.
1 May 2012
Here are some pics of Kermit's new airbags installed. The radio will probably be the last thing I install after the bodywork is complete.

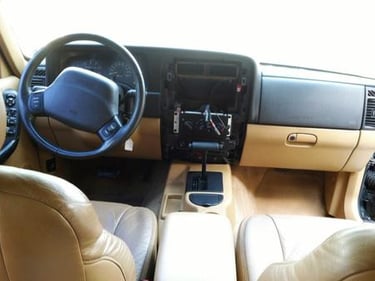
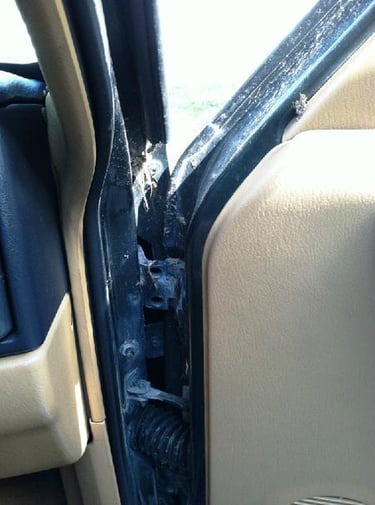
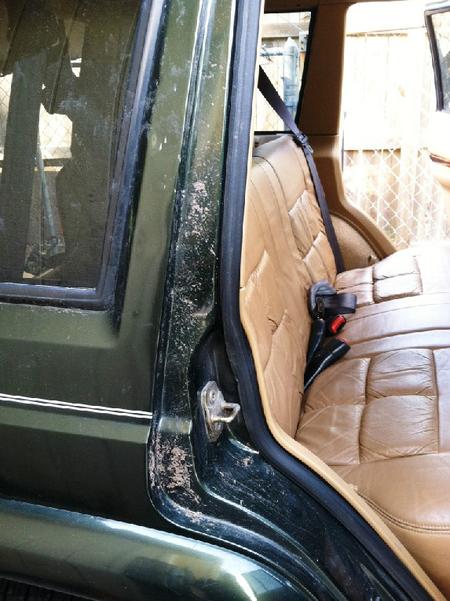
We cleaned out the interior this afternoon and let it air out some. When Allison went through the ditch in the wreck, thankfully the ditch was full of water which help slow her down a lot before impact. She went from 65 MPH to 0 MPH in less than 50 feet. I had washed the mud off the outside, but noticed this afternoon some of the mud which got between the doors and door frames.


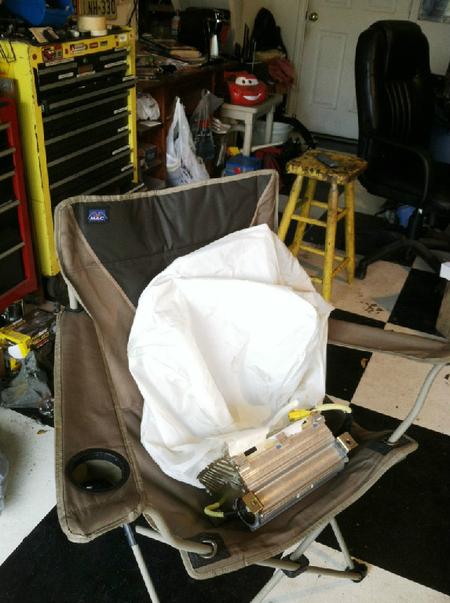
If you ever wonder how big airbags are once deployed, here are what Kermit's looks like. This one is the passenger side. I put it in this chair to give a size comparison.

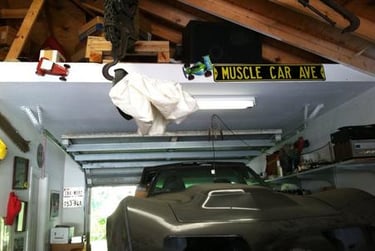
This is the drivers side airbag. I hung it on the engine lift hook when I first started working on Kermit to show what helped keep Allison from getting hurt. I may keep it up there for a while.

4 May 2012
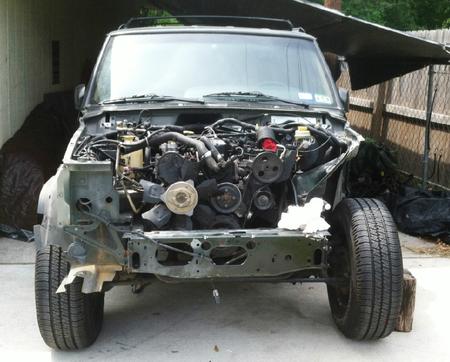
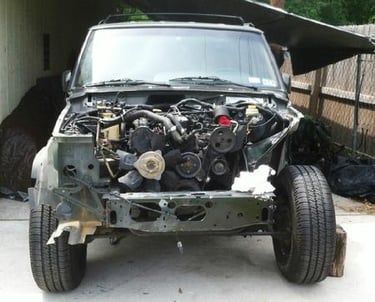
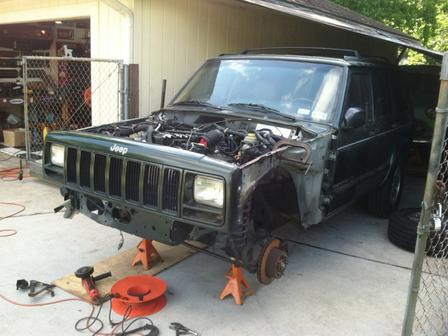
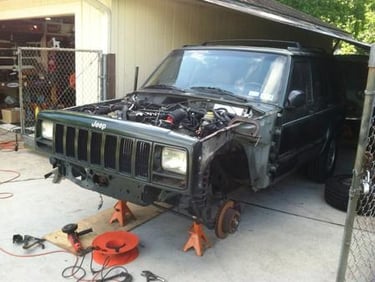
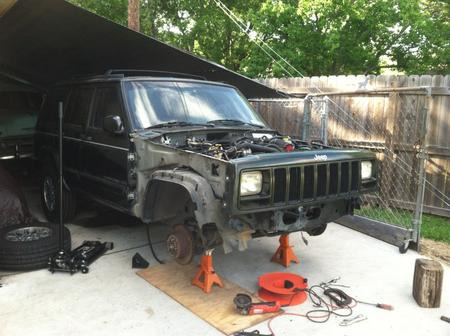
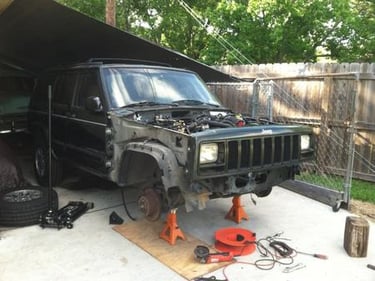
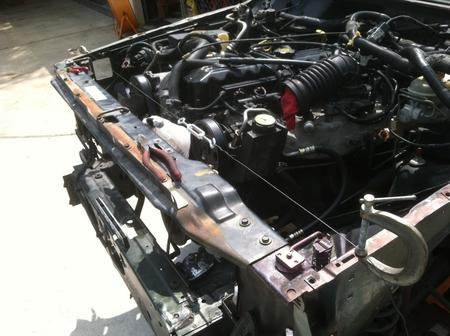
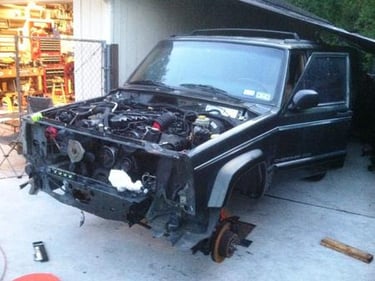
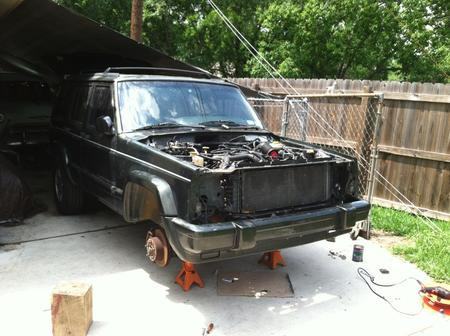
I started installing the inner fender support.

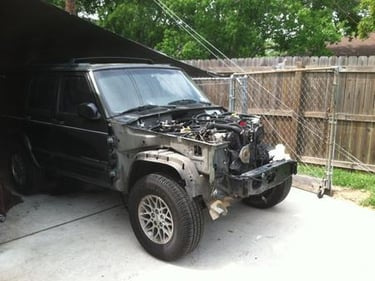
In order to make sure that it is in the right spot and level, I leveled out the Jeep first.
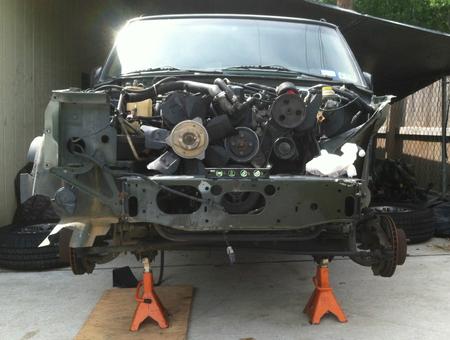
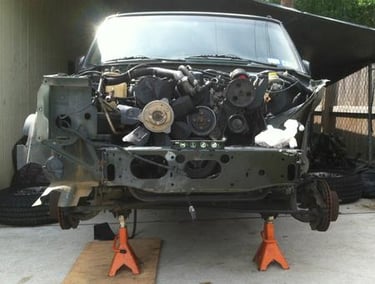
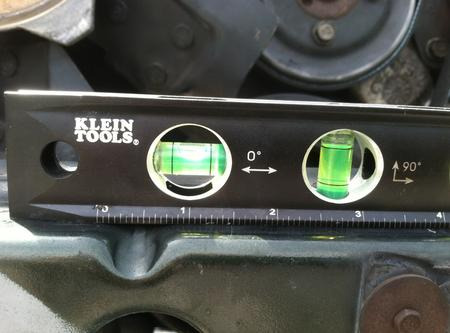
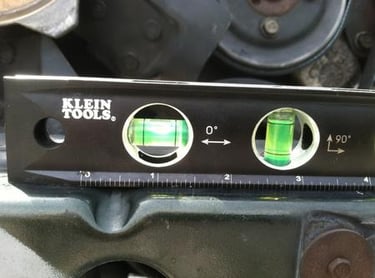
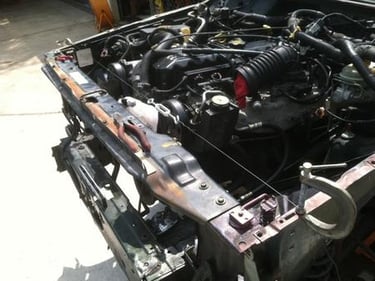
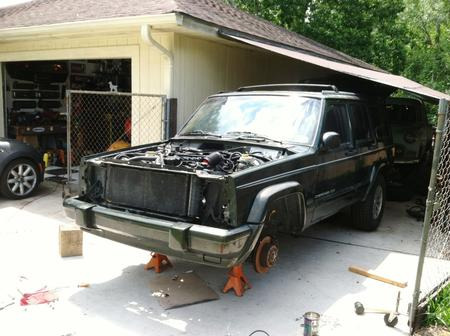
Then I used the support brackets to bolt it into place as well as the upper radiator support. I mocked up the front header panel/grill to see if it was level and square.
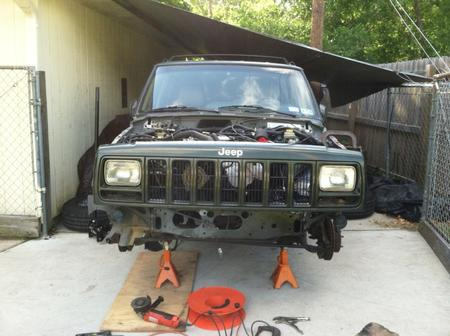
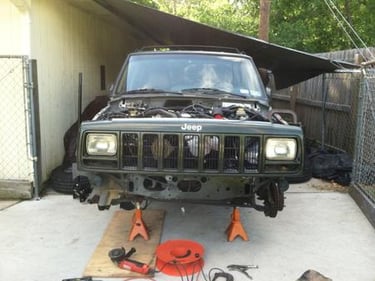
.The tricky part is getting the piece in the right spot before welding it in. I got the distance from the firewall correct by loosely bolting the fender on to make sure all the bolt holes line up. I spot welded the fender in place then took the fender back off.
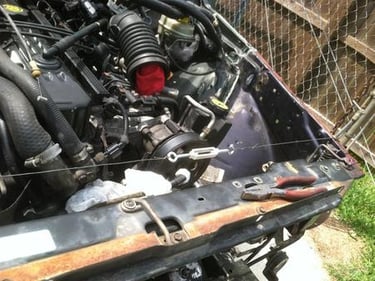
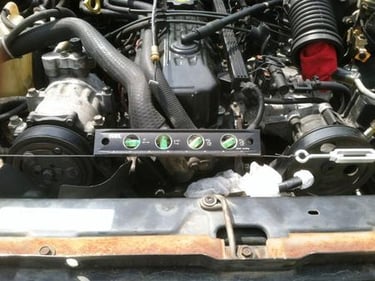
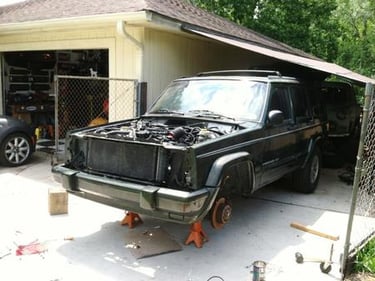
In order to make sure the front of the inner fender was at the same level as the opposite fender I put a piece of wire between the inner fenders and clamped them in place I had a turn buckle to tighten the wire so it would be straight across. I checked the level then adjusted the height of the new inner fender. Once it was level I spot welded in place.


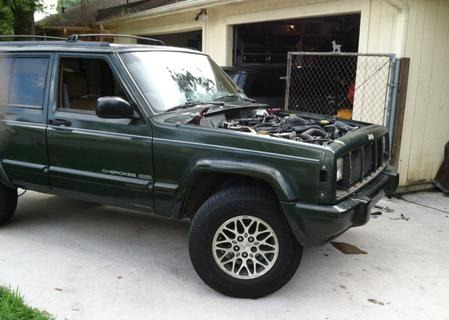
I completed the welds and started installing the plastic inner fender, the washer tank and the driver's side fender.


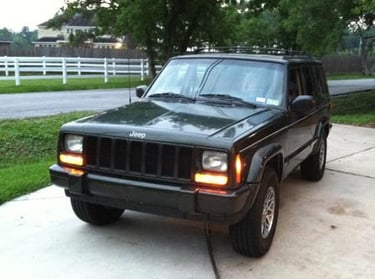
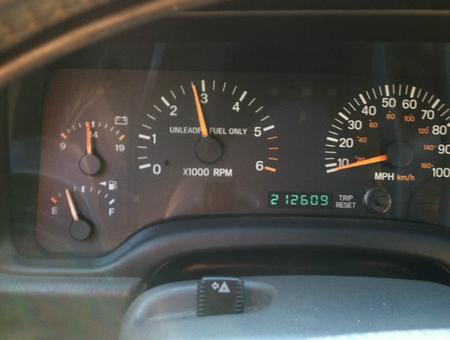
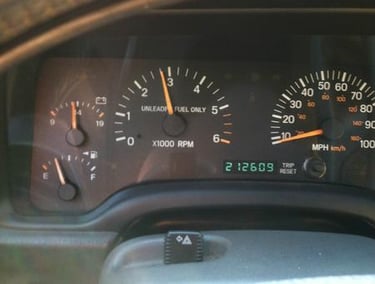
I got it ready to take the first test drive today. I still have lots of little things to do to finish, but was able to do a test drive.


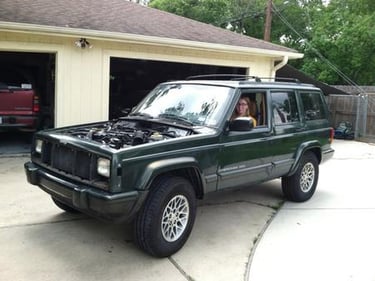
Allison got to be the one to take Kermit for the first test drive:

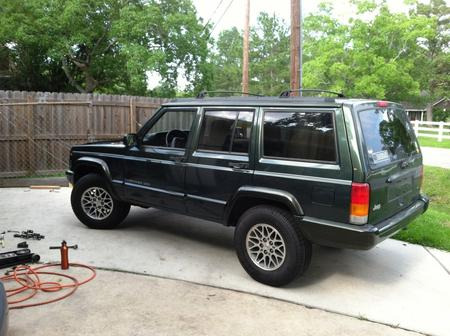
I went to Pick-A-Part to get a set of hood hinges and a fan shroud. I had 2 sets of hinges, but both sets, the driver's side were bent. They did not look like it until I installed them. This afternoon, Allison is going to help me install the hood. Once that is done, there are just a few details to take care of and Kermit will be done.
Allison helped me install the hood this afternoon.
Took us awhile to get it all adjusted right, but we finally got it.


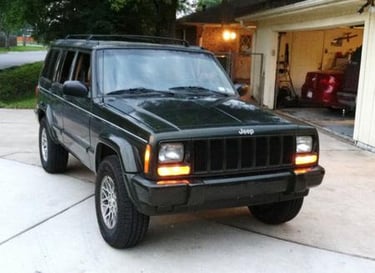
I am pretty much finished re-building Kermit and I made it before my goal of May 19th, which is Allison's 19th birthday. When I first started this project, I wanted to finish before next Fall so she could have Kermit to take back to school, but it all went together a whole lot quicker than I thought.
There are just a few things I have left to do such as install the airbox, electric fan, and finish & vacuum/charge the A/C. Oh, and Allison reminded me that the radio needs to be re-installed. The engine runs great. Funny thing happened this afternoon however, I could not get the engine to idle down, it would run about 3,000 RPM. I was almost convinced there was a vacuum leak so I started tracing out hoses to make sure everything was plugged. I noticed the air intake hose that goes to the top of the airbox and throttle body was loose so I pulled it off to re-set the locking ring. When I did that, I found a red rag down inside the throttle body holding the butterfly open. Once I pulled the rag out, the engine ran much better.
Update: 5 June 2012
I replaced the drier and vacuumed/charged the system. I don't have a vacuum pump so I did that the old military way.... I used the engine vacuum to pull the system down. Only problem with doing it this way is the deepest pull you can do is about 25-27 pounds. Ideally you need to pull the system down to 30 plus pounds.
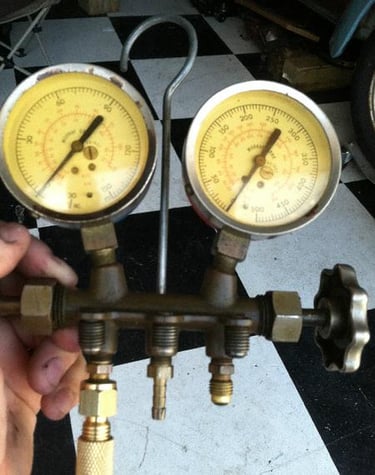
I found my old A/C manifold which is old school R-12. I cleaned it up and converted it to R-134 with new hoses and adapters.
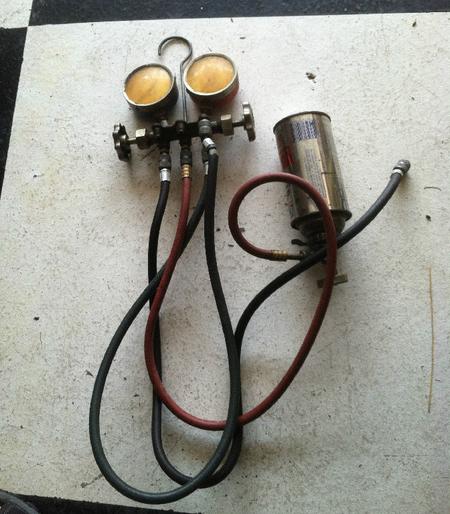
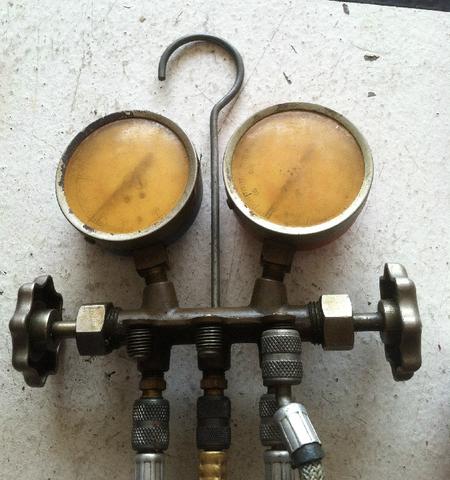
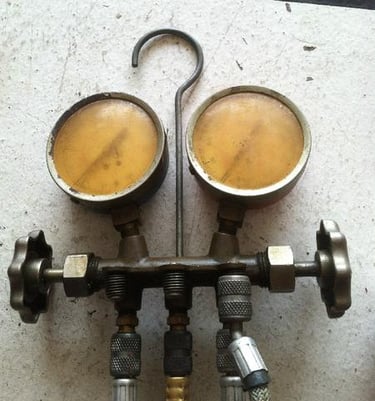
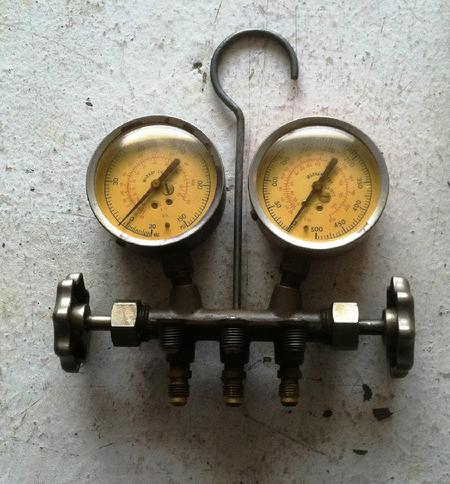
Amazing what a little cleaning will do! I took the gauges apart and cleaned out the cobwebs and other things that took up residence over the last 20 plus years. After this pic was taken, I calibrated the gauges.
Here is a vacuum port on the intake manifold that I connected the A/C manifold to:
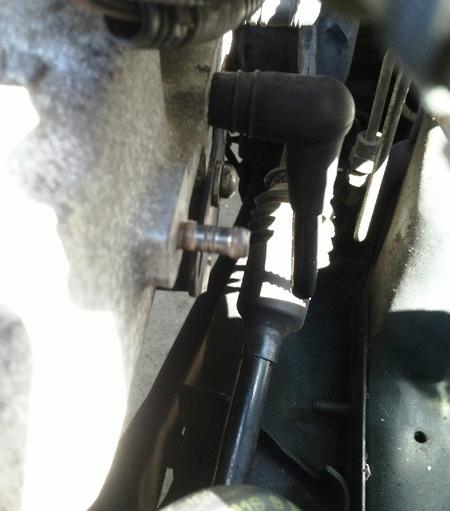
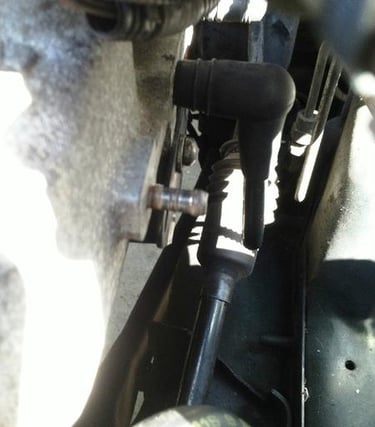
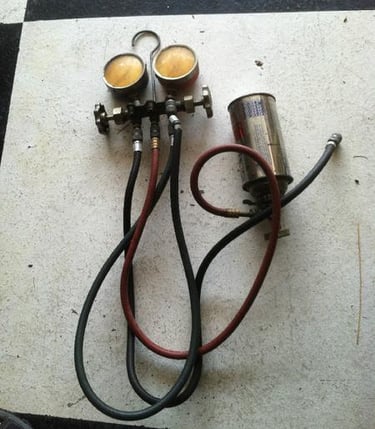
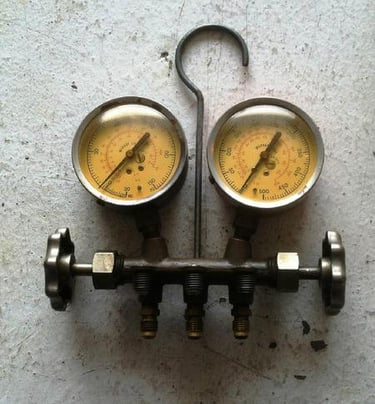
I changed the manifold connectors to accommodate the vacuum hose which connects to the engine intake manifold:

Here is the complete set up:Here is the complete set up:

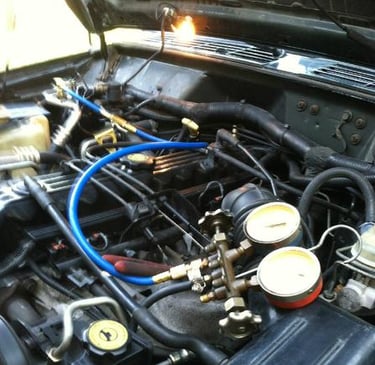
I ran the engine for about 30 minute at about 2,800 RPM
Showing the vacuum:
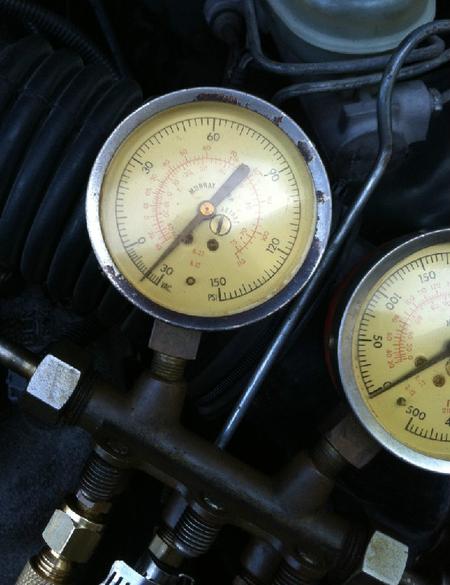

I closed off the manifold and the vacuum held for about 30 minutes. I then charged the system and it blows cold air.
BigDoggarage
Copyright © Bill Overton.
All rights reserved.